You recently subscribed to AcyMailing Sending Service Beta version and want to know how it works?
Follow those simple steps and be ready to start sending emails using our own email service 🥳
Step 1: Download AcyMailing Beta Version
The first step is to install AcyMailing. Click on this button then install it like a new AcyMailing version.
ℹ️ This is the Starter version so don’t expect things to go automatically for now
⚠️ Please keep in mind that you should do it on a test environment!
Download Joomla Version
Download WordPress Version
Step 2: Set your API Key
Whether it is a fresh install or if you already installed AcyMailing on your test website, you will always be asked to set the sending method you want to use.
On this step, you need to set your API Key you received via email.
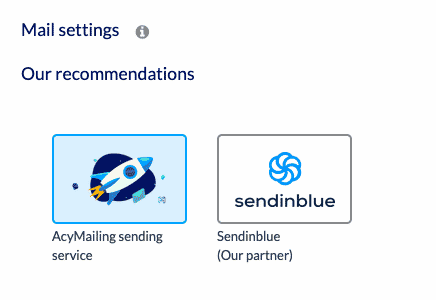
If it is a fresh install, you’ll be asked to do it in the walk-through process (all the steps to configure AcyMailing at first install). On the “Sending method” step then choose “AcyMailing sending service” and set your API Key.
If you already installed AcyMailing before, please access the AcyMailing configuration (Mail settings tab) then scroll down to see the available sending methods. Choose AcyMailing, set your API Key and save.
Once you saved it AcyMailing might display a message like this:
You have unverified domains preventing emails from being sent, please verify them: […]
Here are the reasons:
When you want to send an email from a specific domain, you need to allow us to send emails on behalf on this domain. If this domain isn’t approved then emails won’t be sent as we’re not authorized to do so.
When you save the configuration we check the “From” email address you set in the configuration (at the top of the “Mail settings” tab) to see if the “From” email address’ domain is approved. If not then this message is displayed.
What to do next? Continue to read this article 🙂
Step 3: Approve your domain
Time to allow us to send email on behalf of your domain. To do so, access the “Mail settings” tab in the AcyMailing configuration page (if you haven’t already done it) and scroll down until you see the “Add domain” input below the API Key input.
Here you should:
- Add your domain without the “https://” part nor the “www” one.
- Click on the “Add domain button”
Domain will be added to the “To approve it you need to add some DNS entries on your server.
Here are the steps:
- Click on the “binoculars” icon next to your domain name
- Copy / Paste the CNAME entries and add them to your DNS records (You might be able to do it from your hosting provider account).
- Save the configuration
Now you need to wait for the DNS entries to be propagated. This could take some seconds or some hours (it depends on your host / if you use CloudFlare etc).
Refresh this page some hours later and you should see the domain in the “Verified domains” column.
ℹ️ You might see “amazon” word in the DNS entries. That’s normal because we do use Amazon services to send your emails.
Step 4: Send your emails
Now you should be able to create a campaign and send some emails to your contacts.
Please keep in mind that this is a beta version so make sure to send emails to test users only and not your whole database 😉
NB: At first, you’ll have a limited amount of test emails assigned to your account. We will slowly increase it by the time.
Step 5: Send feedback
Had some issues or some improvement ideas? Feel free to share them with us!
We would like the process and the interfaces to be a bit easier and user friendly. We’re working on it! But please share your feelings with us as we would be glad to receive feedback and help to improve it!