All you need to know to send your WordPress emails using Mailgun ??
WordPress hosters don’t always provide servers for emails. The reason for this is because web hosting servers are not optimized for sending email.
To solve this problem, it makes sense to use SMTP providers or external sending email services. Nowadays, there are several competing providers on the market: Sendinblue, Amazon SES, Sendgrid… They allow you to better manage the view, deliverability, spam and logs of your emails.
Today, we are going to focus on Mailgun and learn how to configure this external email service.
WHAT IS MAILGUN?
Initially created for developers, Mailgun is an API-based transactional email service. In other words, Mailgun allows emails automation and thus the sending, receiving and tracking of the emails sent. You can send up to 5.000 emails for three months in the free version.
This software can be used for the non-developers, its configuration remains very easy as we will see later in this article.
HOW TO SET UP MAILGUN FOR WORDPRESS?
Setting up Mailgun for WordPress is very simple. We will see now how to install and configure Mailgun on WordPress.
STEP 1: Sign up to Mailgun
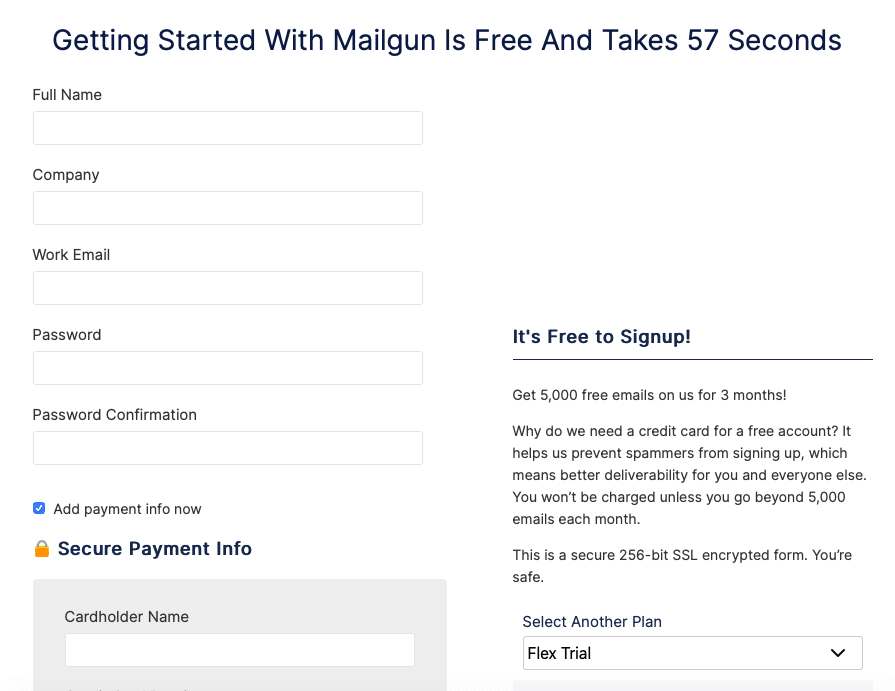
First, you need to create an Mailgun account. You can register on Mailgun website.
As soon as you have registered, you will be invited to check your account by email and SMS. You will then be able to add your domain to Mailgun.
STEP 2: Add your domain to Mailgun and configure your DNS (Domain Name System)
On your Mailgun dashboard, click on “Add a domain”. You can now choose your domain for sending emails via your website. You must use a domain name that belongs to you. Then follow Mailgun’s instructions and keep the information from your DNS manager and copy it to your plugin.
Then in the Mailgun dashboard, copy this information, register, and check that the registration was successful.
STEP 3: Install and configure AcyMailing to send newsletter from Mailgun
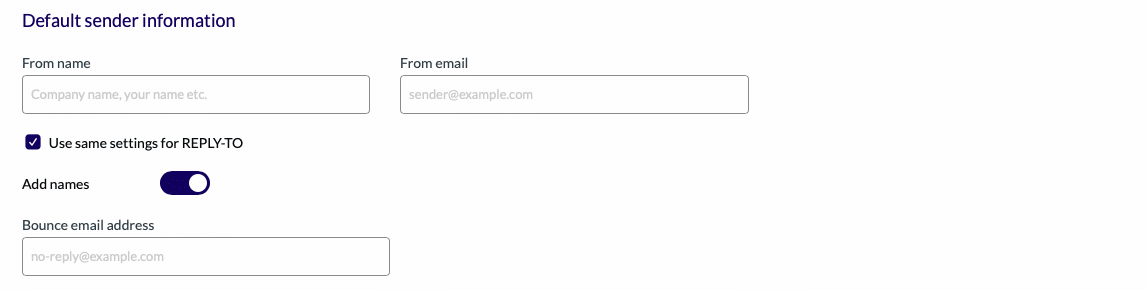
To send your newsletters with AcyMailing, download the plugin on WordPress and activate it. Once downloaded, go to “Configuration” and then to “Mail setting”. Fill in your default information (name, email, bounce email address).
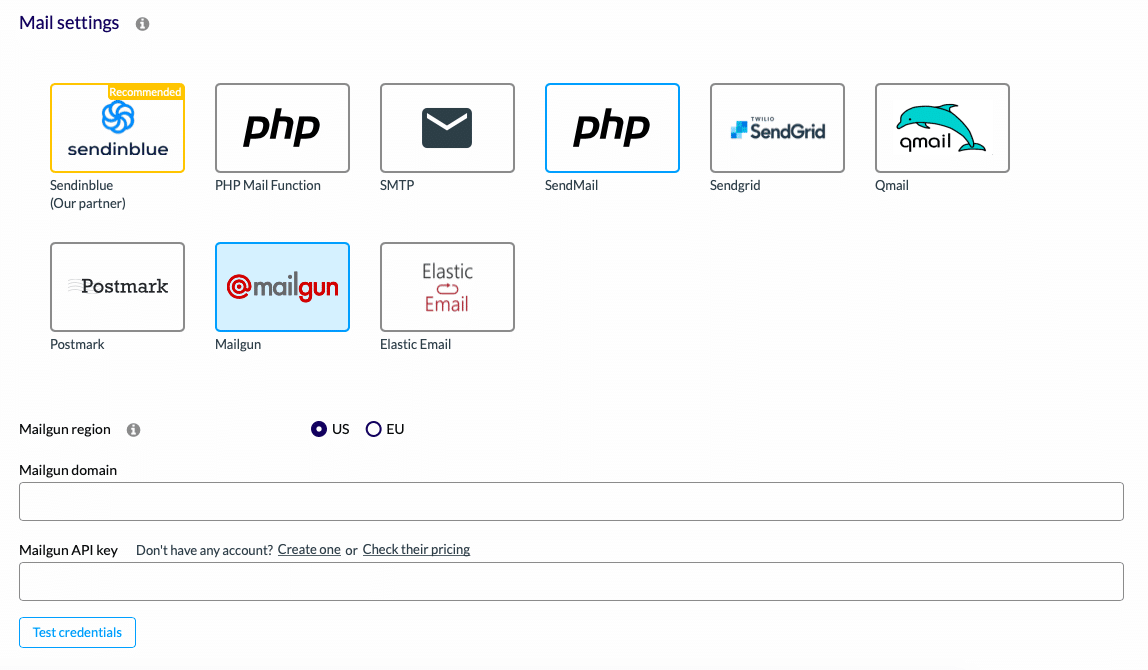
Select Mailgun and put your WordPress domain name and API key. Then test if it works and that’s it, you’re ready to send your first email with Mailgun on AcyMailing. More advanced configurations are available below if your wish.
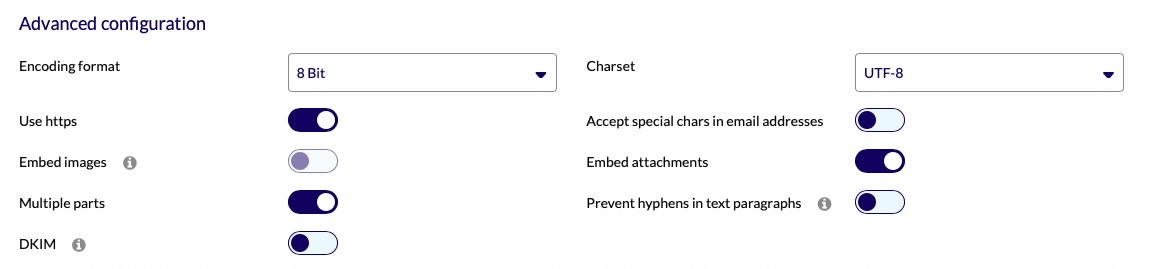
All your settings are now configured and your plugin is ready to use. And that’s not all… AcyMailing has other features that will fit perfectly with Mailgun for WordPress. You can also:
- Segment your newsletters,
- Create subscription forms,
- Do automations,
- Analyse your emailing campaigns,
- And many more…
ALTERNATIVE SOLUTION TO INSTALL MAILGUN IN WORDPRESS
It’s also possible to download Mailgun directly on your WordPress.
Mailgun has developed a WordPress plugin to make its service available on this CMS. The plugin is very complete and has many advantages such as sending emails via HTTP or SMTP API, access to logs that can be viewed on your email, free redirection to other mailboxes and many others. In the free version, you can send up to 200 emails per day. If you want to exceed this limit, you can switch to the paid version at any time.
After doing step 1 and 2, you can install Mailgun on your CMS to do that follow the next steps :
STEP 3: MAILGUN WORDPRESS PLUGIN
You must now log in to your WordPress page on your website.
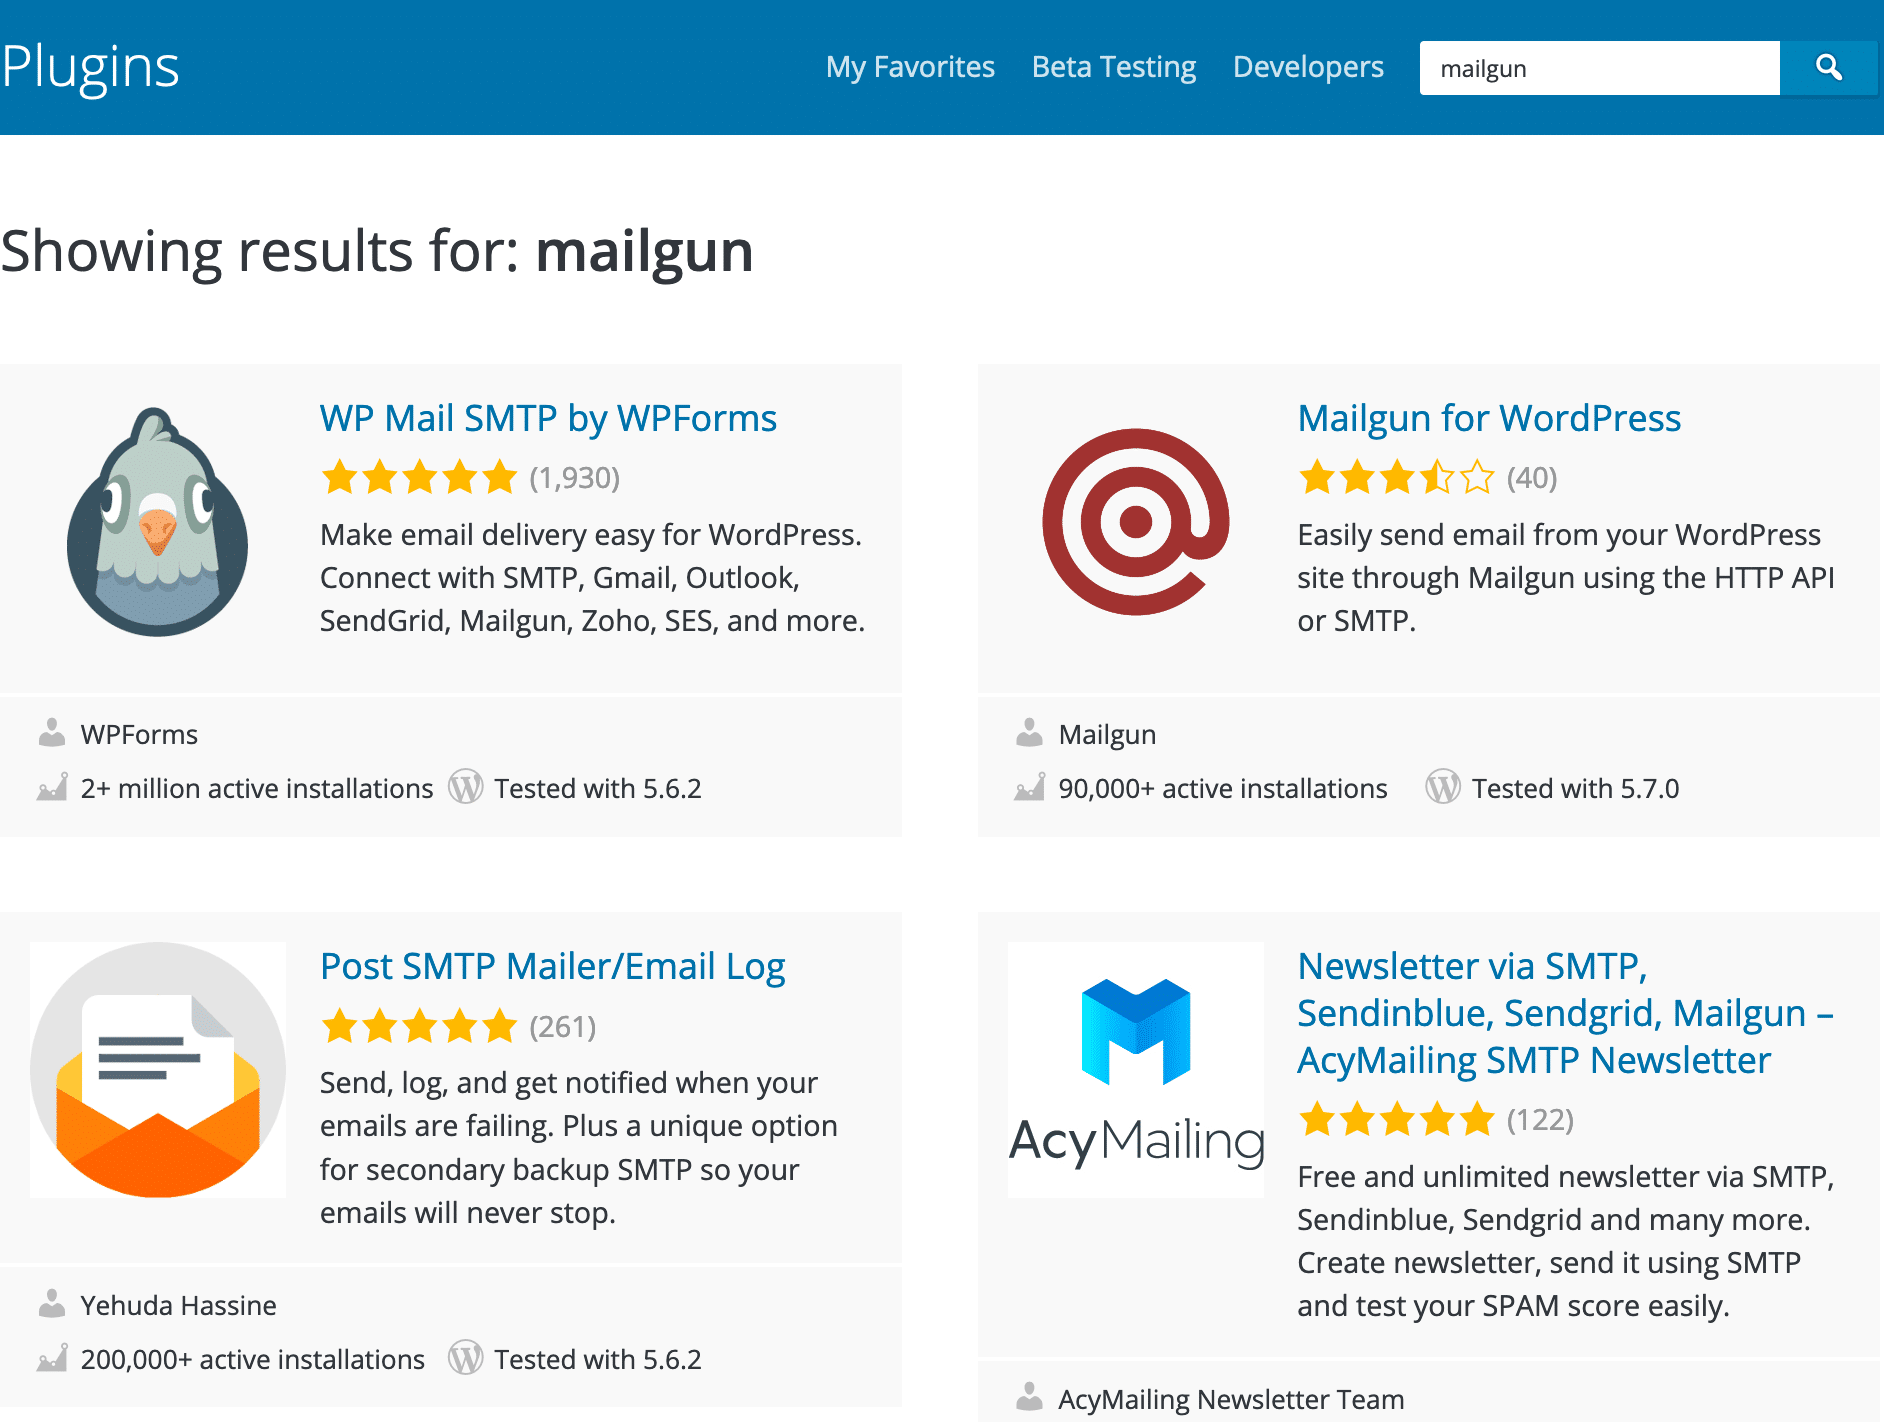
To download Mailgun for WordPress, go to the Plugin then Add New section and search for ‘Mailgun’ in your search bar.
You can now download it and activate it at the end of the download.
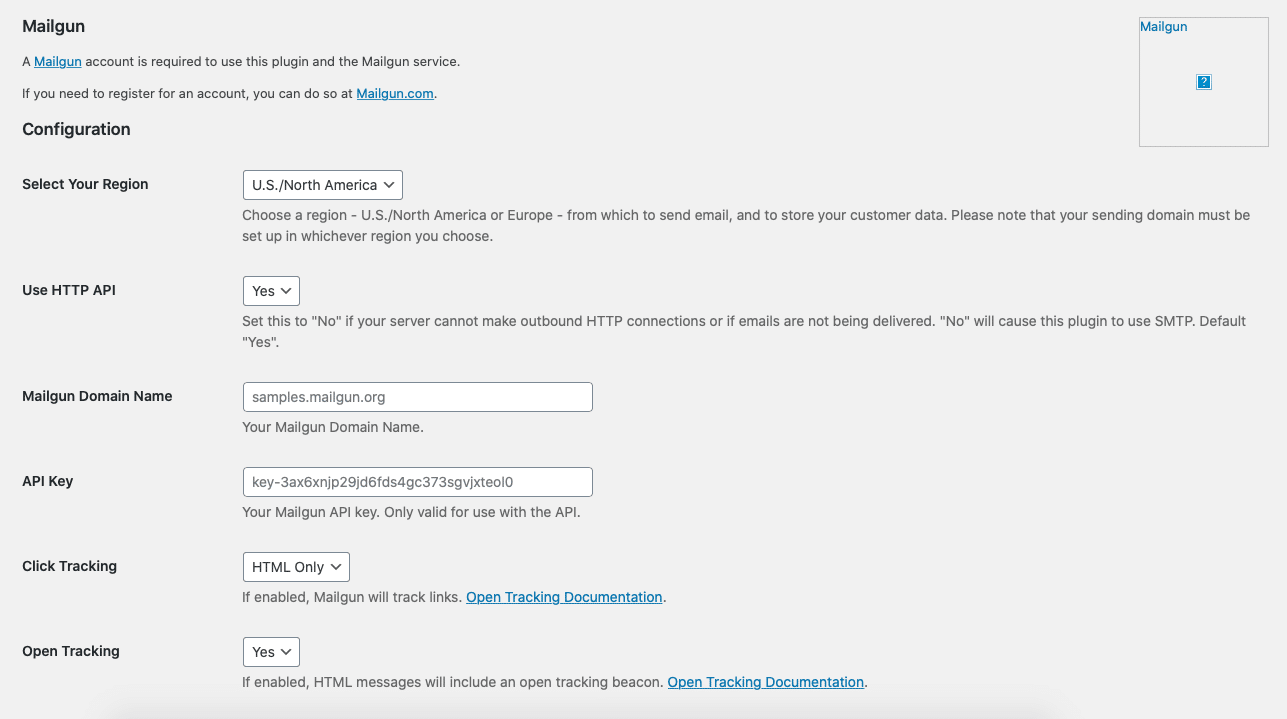
STEP 4: MAILGUN WORDPRESS PLUGIN CONFIGURATION
Once in “Configuration”, you can start to set your settings. Mailgun uses APIs to send its emails, so you need to enable the HTTP APIs for better reliability and activate your domain name. To configure this page, enter the data you have filled in and received on the Mailgun website page (domain name, API key…). As soon as you have filled in all your data, register and send yourself a test to see if there are no errors.
All your settings are now configured and your plugin is ready to be used. We hope this tutorial has helped you to set up Mailgun on AcyMailing and WordPress.
Looking for alternatives or some other sending methods? Take a look at: